Opening a Support Request with Microsoft
This document will provide a step-by-step guide to opening a Support Request with Microsoft.
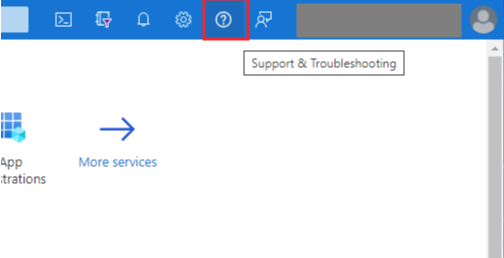
In the Azure portal, click on the support and troubleshooting button at the top right-hand corner of the page.
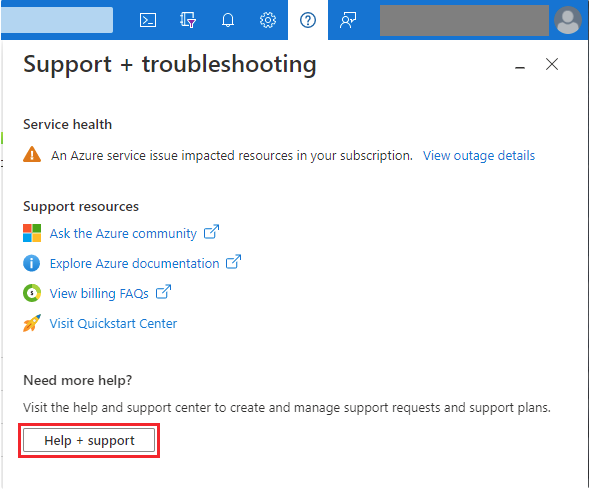
Once it reaches the Support + troubleshooting page, click the Help + support button.
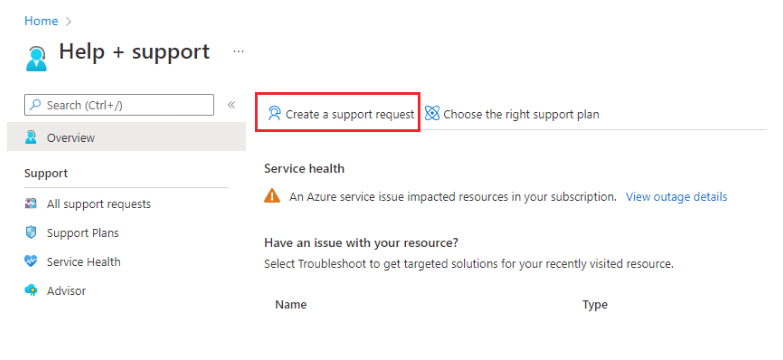
On the Help + support page, click on Create a support request.
Fill in the required information when brought to the New support request page. After filling in the information, click Next, which can be found at the bottom of the page.
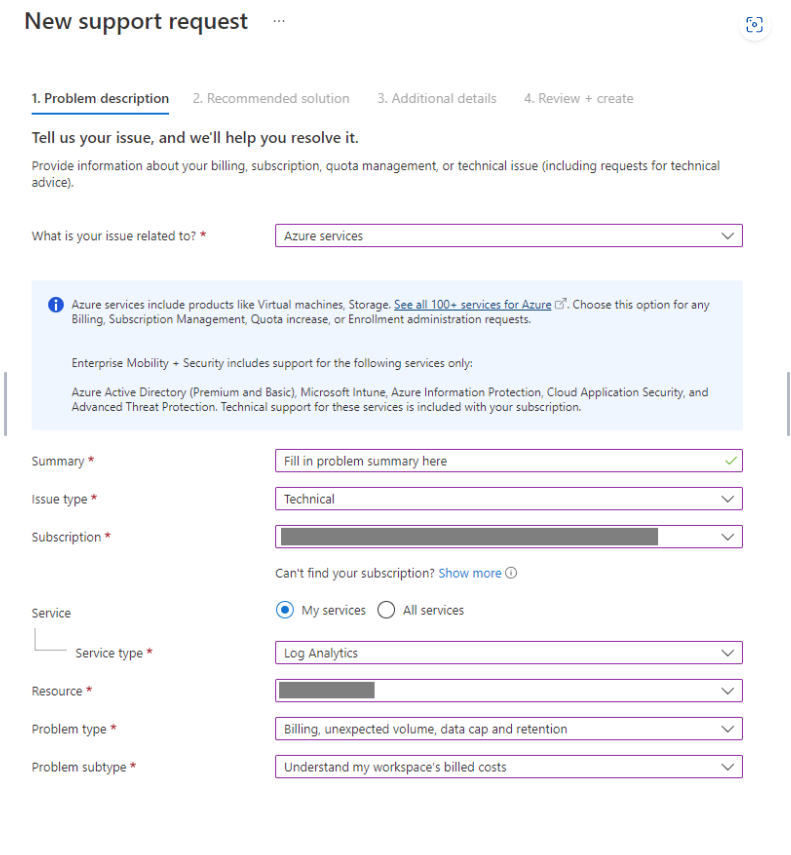
Not all fields are present when first redirected to the page. Upon filling up the fields, related fields will appear dynamically.
Make sure to select the correct Subscription and Resource to be reporting for. It should be the customer’s Subscription and Workspace since the support request is made on their behalf.
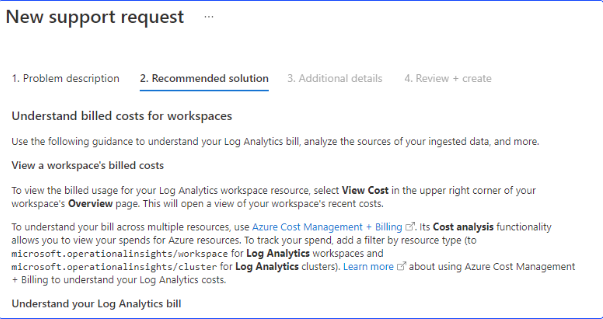
Look through the recommended solutions, and if it doesn’t help, click Next at the bottom of the page.
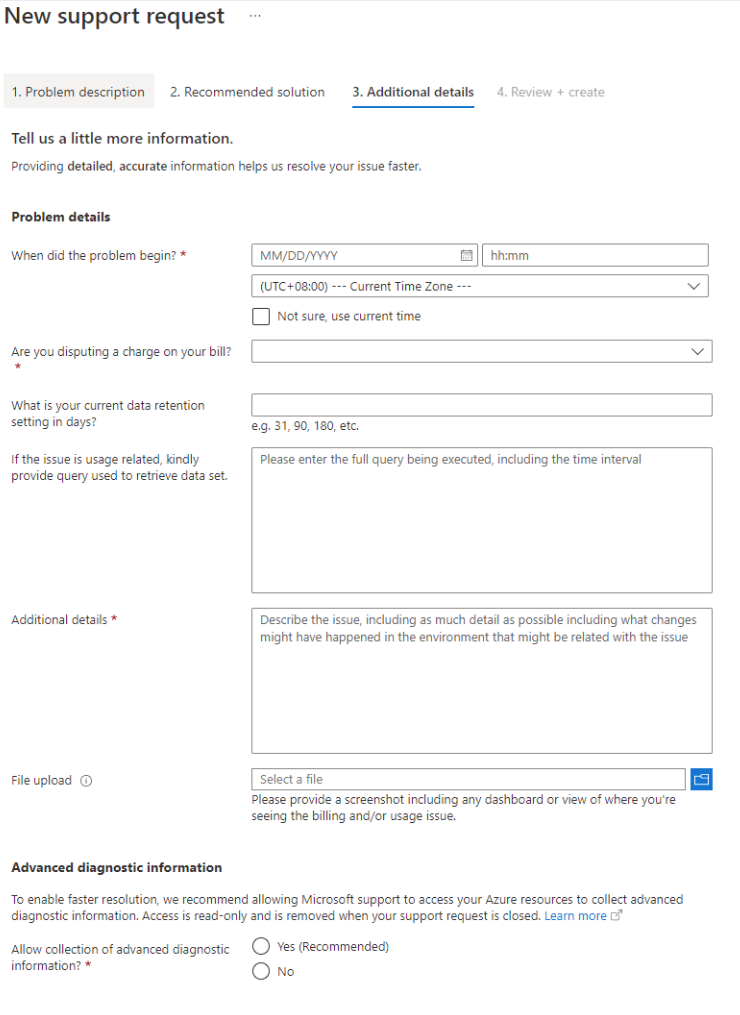
Fill in the additional information as requested. Fill up the mandatory fields and click Next. You may wish to fill up the optional field if deemed necessary.
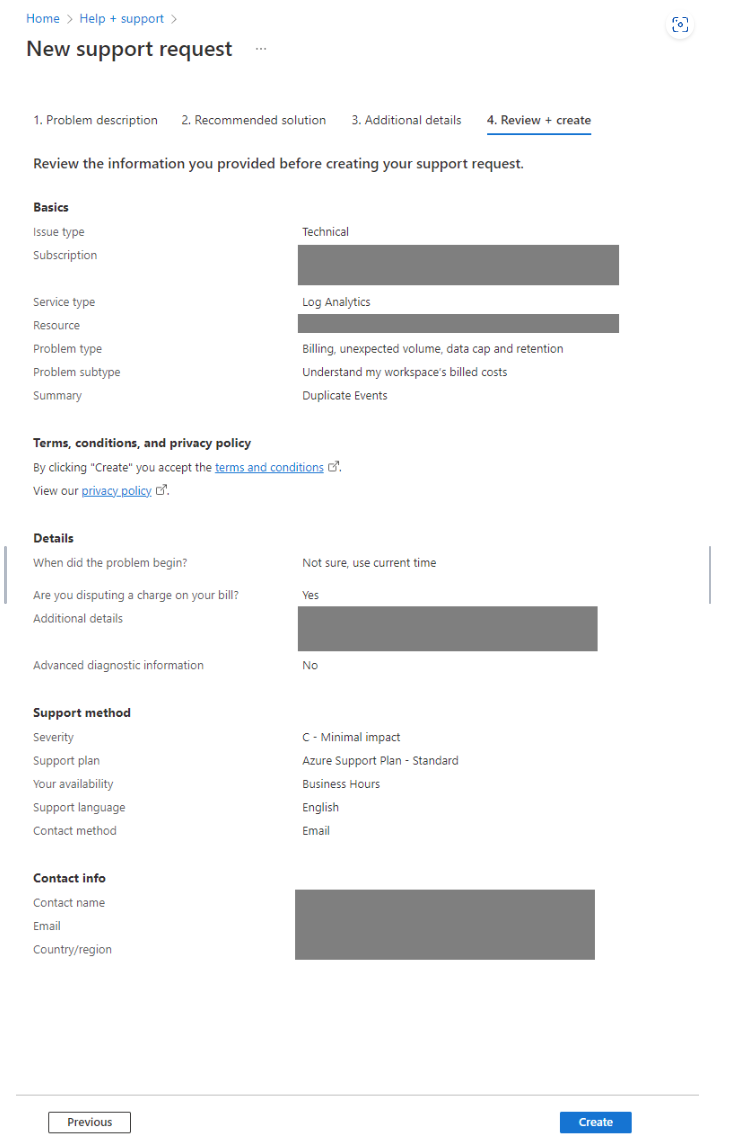
Lastly, you will be brought to the Review + Create page to check the information provided thus far. Upon checking, click the Create button to create the support request.
