Armor Agent Free Tier
Getting Started with Armor Agent Free Tier
The Armor Agent Free Tier allows you to protect up to five (5) endpoints with essential security features at no cost. Follow the steps below to set up your free account, install the Armor Agent, and begin securing your infrastructure.
Step 1: Request Free Tier Access
Fill out the Free Tier request form: Request Armor Agent Free Tier
Once submitted, you will receive a confirmation email.
Important: Check your junk/spam folder if you do not see the email in your inbox.
Step 2: Account Activation
Within 3 business days, you will receive an Account Activation email.
Important: Be sure to check your junk/spam folder for this email.
Follow the instructions in the email to create your account.
Step 3: Access the Nexus Portal
Go to Armor Nexus Portal.
Log in using the credentials you created during account activation.
Step 4: Add a Virtual Machine
In the Nexus Portal, navigate to:
Infrastructure → Compute → Virtual Machines → Add New VM
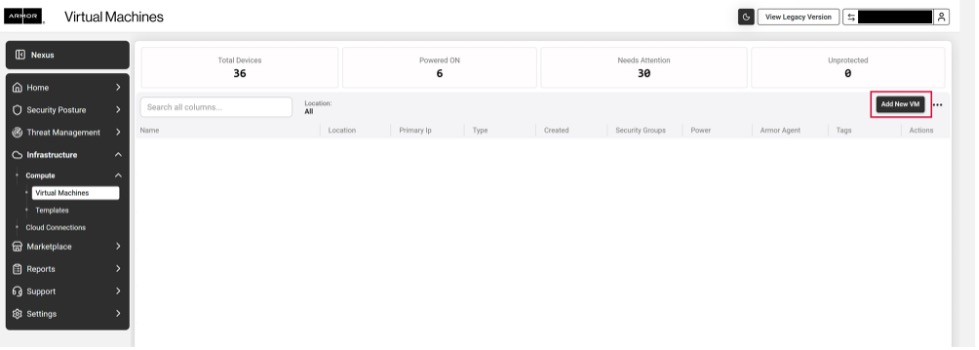
Choose your operating system (OS) to begin the installation process.

Select the appropriate guide for your OS:
Windows: Install Armor Agent on Windows
Linux / macOS: Install Armor Agent on Linux/macOS
Follow the step-by-step instructions to complete the installation.
Step 5: Verify Successful Installation
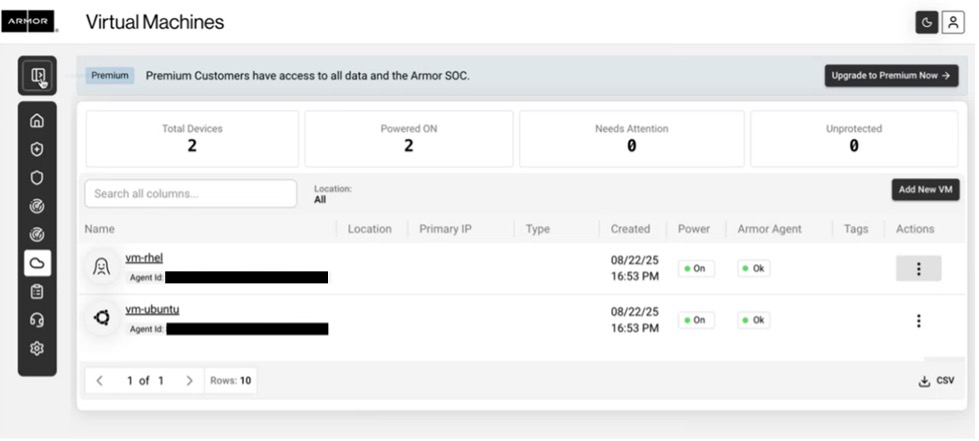
Once installation is complete, your endpoint will automatically appear in the Virtual Machines page within the Nexus Portal.
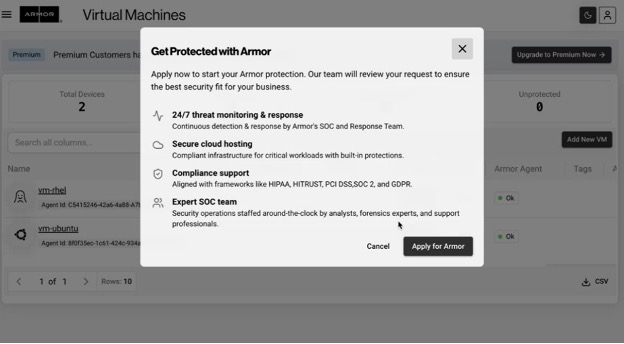
Upgrading to Premium Tier
The Free Tier is limited to five (5) endpoints and does not include advanced features available in the Premium Tier.
To unlock full capabilities:
In the Nexus Portal, click on the "Upgrade to Premium" button.
Submit your request to upgrade.
You will receive an email with further instructions to finalize the upgrade process.
Support
If you encounter issues during setup or installation, contact Armor Support through the Nexus Portal