Top Failed Resources by ReportId
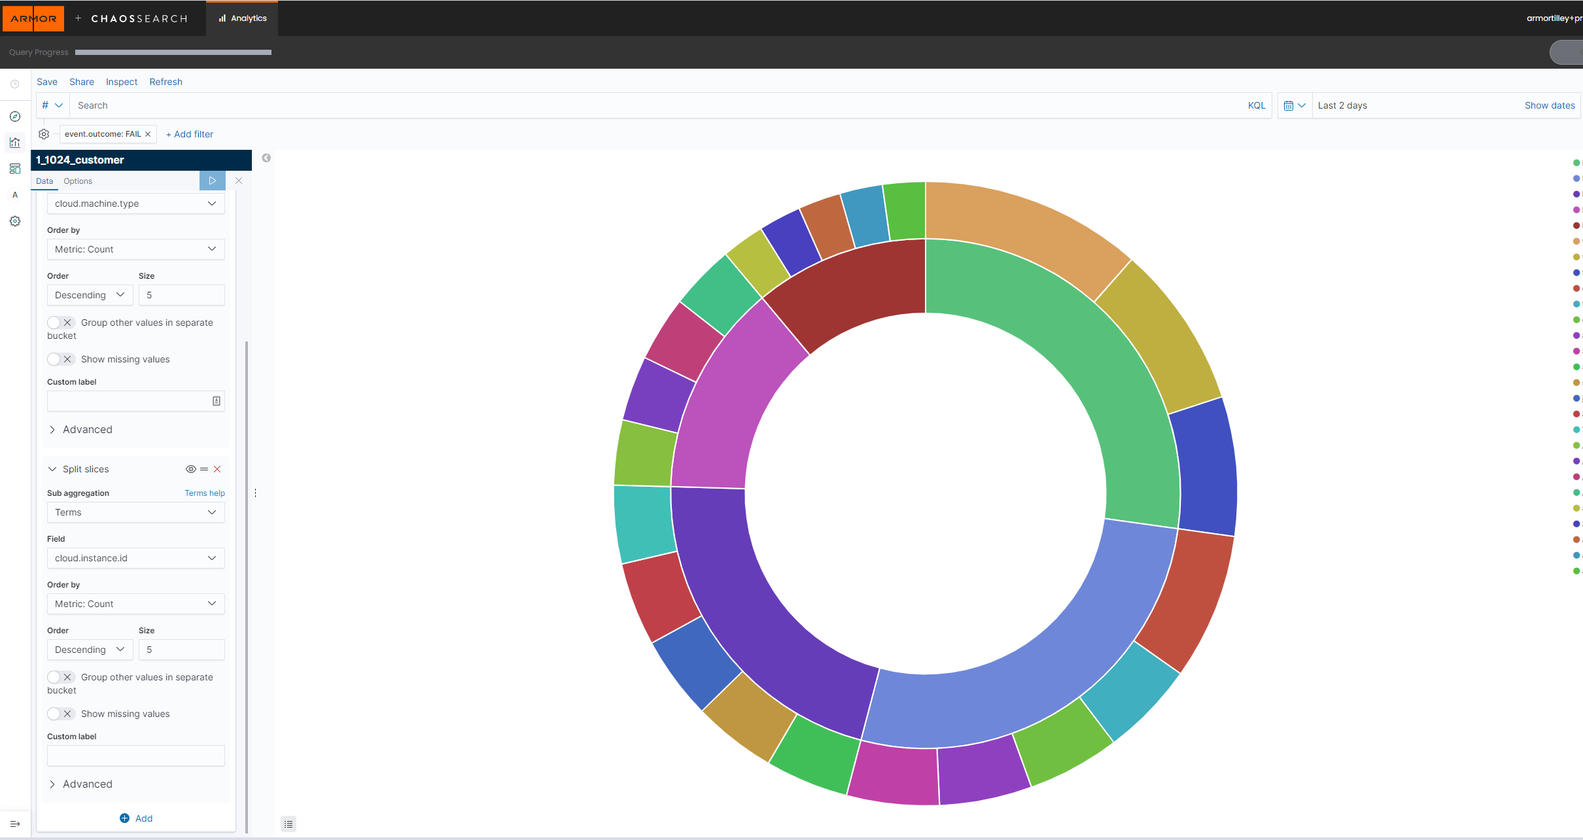
The Top Failed Resources by ReportId report provides a visualization of the top 5 resource types (Lambda, IAM User, S3 bucket, etc.) failing the in the cloud environment. These sources are visualized in the inner ring of the pie chart. Within each of those Top 5, the top 5 resources failing are then identified, visualized as the outer ring.
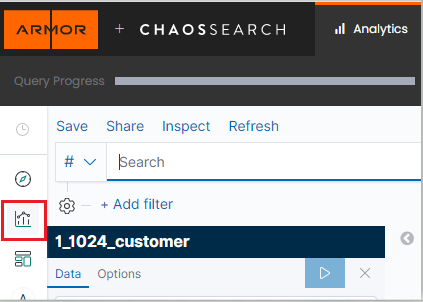
In Nexus, go to the Log Search tab located at the Log Search screen under Threat Management.
Click on Visualizations.
Click the Create new visualization button.

In the New Visualization pop up, select the Pie visualization option.

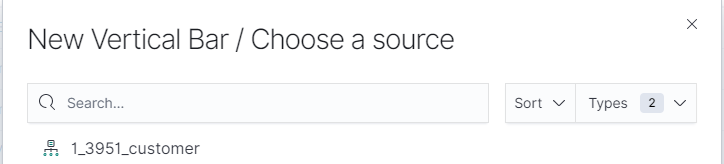
Choose a source.
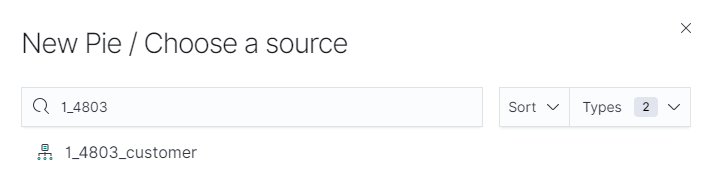
In sources select <PARTNER_ACCT_ID>_<CUSTOMER_ACCT>_customer.
Partner accountId may be 1 or another number. Select the source matching the account number in the top right corner of the page or listed on the Account page followed by "_customer".
If the account number is 1024 then the source will be <PARTNER_ACCT_ID>_1024_customer.
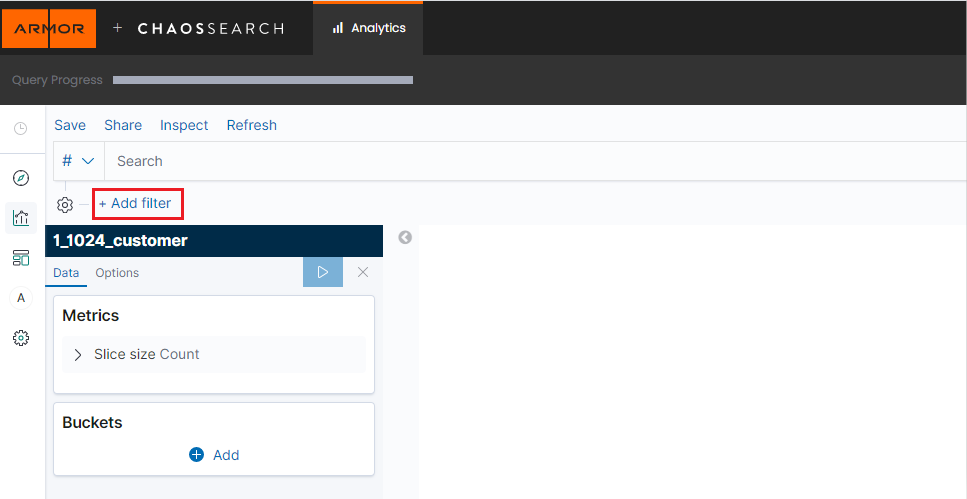
Log Search will refresh to display the query screen. From here, the visualization can be configured.

Click Add filter.
Type in "event.ReportId" into the Field box,
Select the Operator "is."
In the Value box, type in reportId.
Click the Save button.
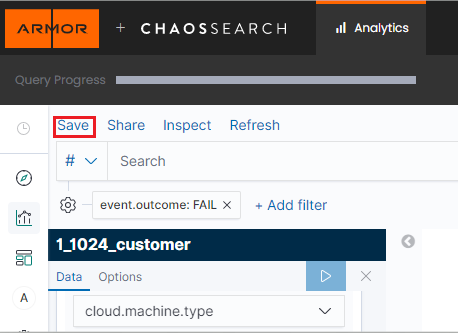
Add another filter.
Type in "event.outcome" into the Field box,
Select the Operator "is."
In the Value box, type in FAIL.
Click the Save button.
Two buckets are needed to configure this visualization. Under Buckets, click the Add button, making sure to select split slices.
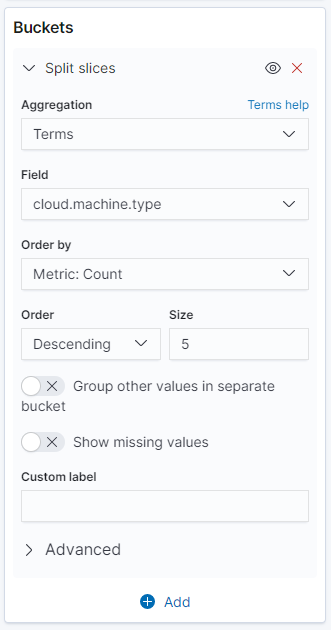
In the Aggregation drop down, select Terms.
In the Field box, enter "cloud.machine.type" or search for it.
Order by, Order and Size should all remain with their default values. Properly configured, the first bucket will look like the screenshot below:
To add the second bucket, click the Add button underneath Buckets, making sure to select split slices.
In the Sub aggregation dropdown, select Terms.
In the Field, enter "cloud.instance.id" to select it.
Order by, Order and Size will be set to default. Properly configured, the second bucket will look like the screenshot below:

When both buckets are configured, click the Apply Changes button.

Set the date range for the visualization.
If the range encompasses more than one report, an additional filter with the report id can be added.

Save the visualization by clicking Save in the top left of the screen.
Users can view previous visualizations by clicking Visualizations and selecting the desired visualization from the list.