Azure Event Hubs
Event Hubs is a fully managed, real-time data ingestion service that’s simple, trusted, and scalable. Stream millions of events per second from any source to build dynamic data pipelines and immediately respond to business challenges. Keep processing data during emergencies using the geo-disaster recovery and geo-replication features.
Integrate seamlessly with other Azure services to unlock valuable insights. Allow existing Apache Kafka clients and applications to talk to Event Hubs without any code changes—you get a managed Kafka experience without having to manage your own clusters. Experience real-time data ingestion and microbatching on the same stream.

How It Works
Features
Ingest millions of events per second
Continuously ingress data from hundreds of thousands of sources with low latency and configurable time retention.
Enable real-time and micro-batch processing concurrently
Seamlessly send data to Blob storage or Data Lake Storage for long-term retention or micro-batch processing with Event Hubs Capture.
Get a managed service with elastic scale
Easily scale from streaming megabytes of data to terabytes while keeping control over when and how much to scale.
Easily connect with the Apache Kafka ecosystem
Seamlessly connect Event Hubs with your Kafka applications and clients with Azure Event Hubs for Apache Kafka®.
Build a serverless streaming solution
Natively connect with Stream Analytics to build an end-to-end serverless streaming solution.
Ingest events on Azure Stack Hub and realize hybrid cloud solutions
Locally ingest and process data at a large scale on your Azure Stack Hub and implement hybrid cloud architectures by leveraging Azure services to further process, visualize, or store your data.
You can use this document to learn how to create Microsoft Azure Event Hubs as an External Log Source.
Armor supports log collection for Microsoft Azure services listed below:
Azure Event Hubs
In this article:
Prerequisites:
Permissions
Your account must have the following permissions:
Read Log Management
Write Log Management
Delete Log Management
To learn more about permissions, see Roles and Permissions.
Microsoft Azure Portal:
An Azure account with an active subscription
Azure Event Hubs connection string and a Azure Storage Account connection string. To learn more about how to create and configure EventHubs and Storage account, see the article here.
Event Hubs and Storage Account Creation
Azure Event Hubs is a big data streaming platform and event ingestion service. It can receive and process millions of events per second.
Subscription
Create Subscription (if not available) - This should be controlled by the billing administrator of the Azure Directory.
Resource Group
Create Resource Group (if not available) - A resource group is a container that holds related resources for an Azure solution. The resource group can include all the resources for the solution, or only those resources that you want to manage as a group.
Create an Event Hubs Namespace
The following steps take place inside the Azure portal.
Log in to the Azure Portal. (https://portal.azure.com/#allservices)
In search box next to All services, type event hub when Event Hub appear in the search results, select it.
Event Hubs -> +Add

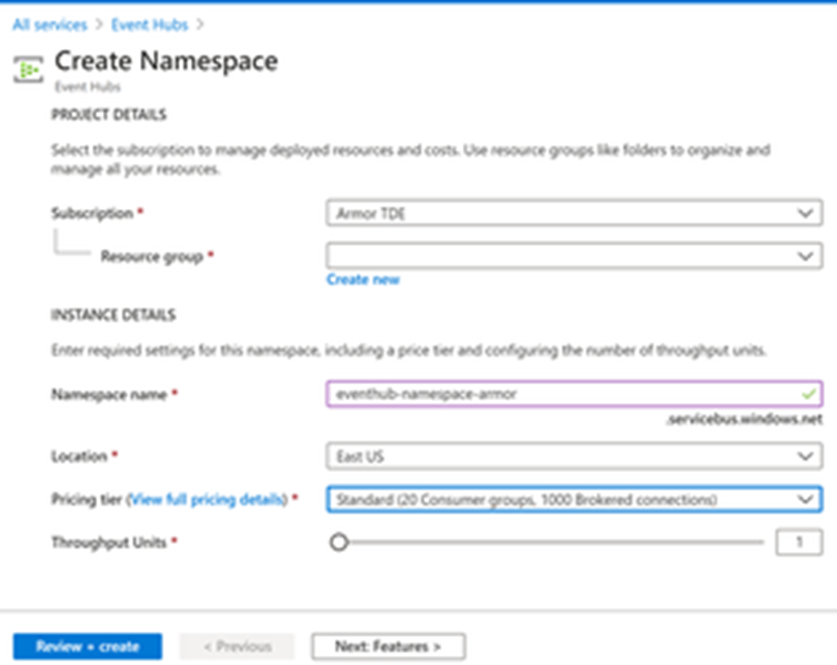
On the Create namespace page, take the following steps:
Select the subscription in which you want to create the namespace.
Select the resource group you created in the previous step.
Enter a name for the namespace. The system immediately checks to see if the name is available.
Select a location for the namespace.
Choose the pricing tier(Standard (can not be basic as we are required to provide a named ConsumerGroup)).
Throughput Units: 1
Throughput units are explicitly selected by the customer, either through the Azure portal or event hub management APIs. Throughput units apply to all event hubs in a namespace, and each throughput unit entitles the namespace to the following capabilities:
Up to 1 MB per second of ingress events (= events send into an event hub), but no more than 1,000 ingress events, management operations, or control API calls per second.
Up to 2 MB per second of egress events (= events consumed from an event hub).
Up to 84 GB of event storage (sufficient for the default 24-hour retention period).
Throughput units are billed hourly, based on the maximum number of units selected during this hour.
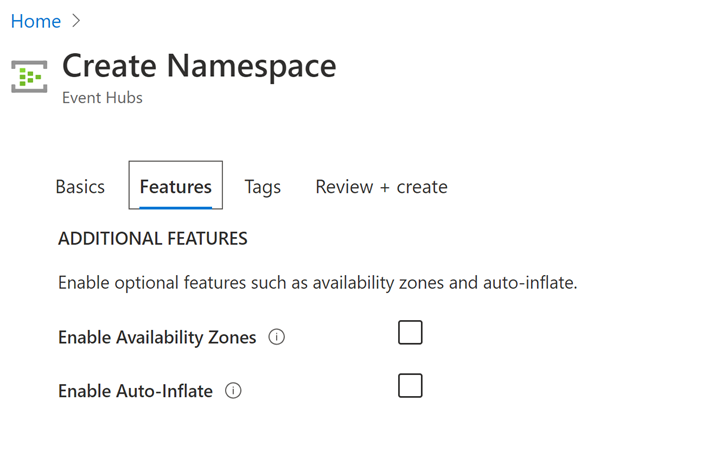
Setup Features
Provides enhanced availability by spreading replicas across availability zones within one region at no additional cost. Learn more
Add tags: Tags can be any additional metadata used to describe the resource
Review and create
Create an Event Hub
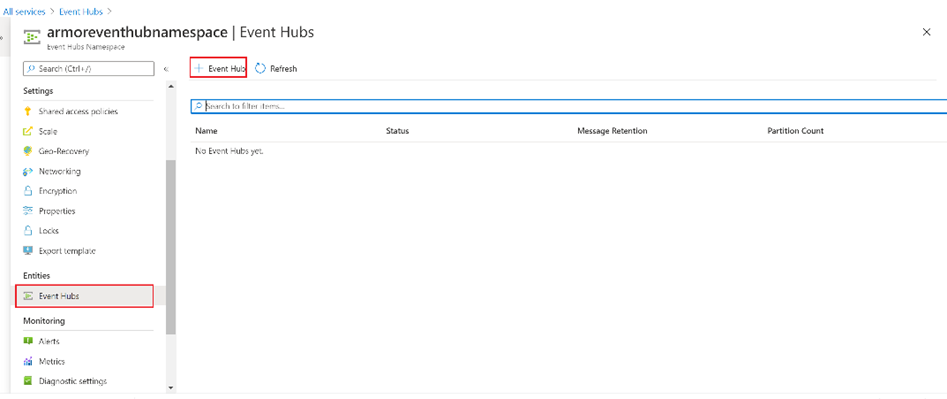
On the Event Hubs Namespace page, select Event Hubs in the left menu.
At the top of the window, click + Event Hub.
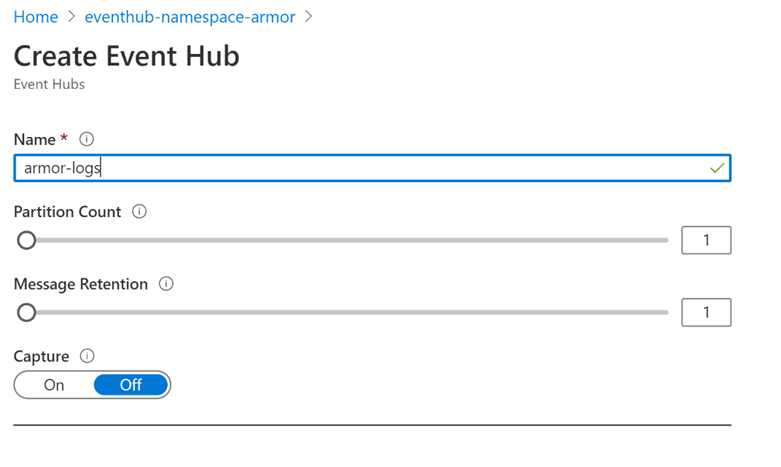
Type a name - armor-logs for your event hub, then click Create.
Click Create
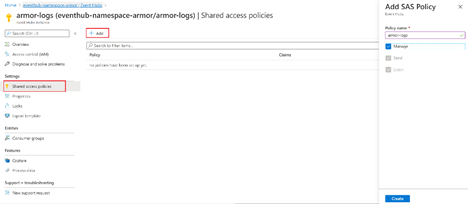
Create Shared access policies
On the Event Hubs Namespace page, select Event Hubs in the left menu.
Select Event Hub created above, armor-logs.
Select Shared access policies in Settings in the left menu and click +Add
Enter Policy name → armor-logs
Select Manage
Click Create
Create a Consumer Group
On the Event Hubs Namespace page, Click Event Hubs in the left menu.
Select Event Hub created above, armor-logs.
Select Consumer groups in Entities and click +Consumer group
Name → armor-logs
Click Create

Retrieve Event Hub Connection String
Select All services, then type event hub when Event hub appear in the search results, select it.
On the Event Hubs Namespace page, select Event Hubs.
Select Event Hub created above, armor-logs.
Select Shared access policies in settings.
Select the Shared access policy created above, armor-logs.
Copy Connection string—primary key
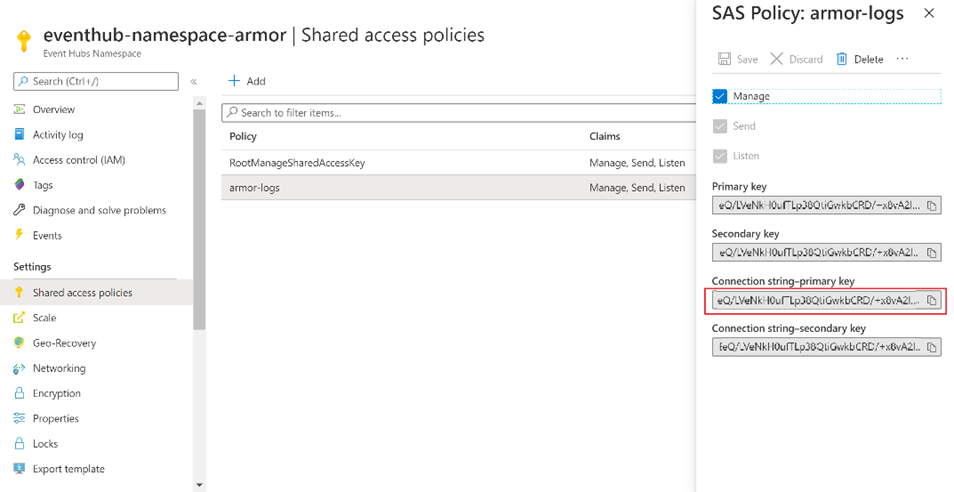
Endpoint=sb://[Namespace Name].servicebus.windows.net/;SharedAccessKeyName=[SAS Key Name];SharedAccessKey=[SAS Key];EntityPath=[Event Hub Name]
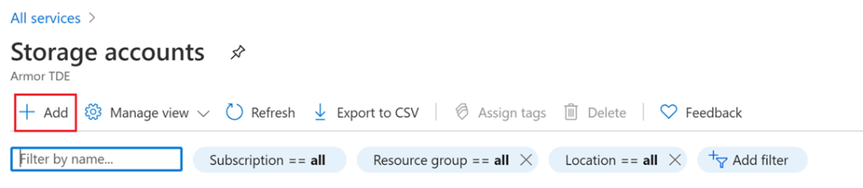
Create Storage Account
Log in to the Azure Portal. (https://portal.azure.com/#allservices )
In search box next to All services, type storage account when Storage accounts appear in the search results, select it. All Services ->Storage accounts -> +Add
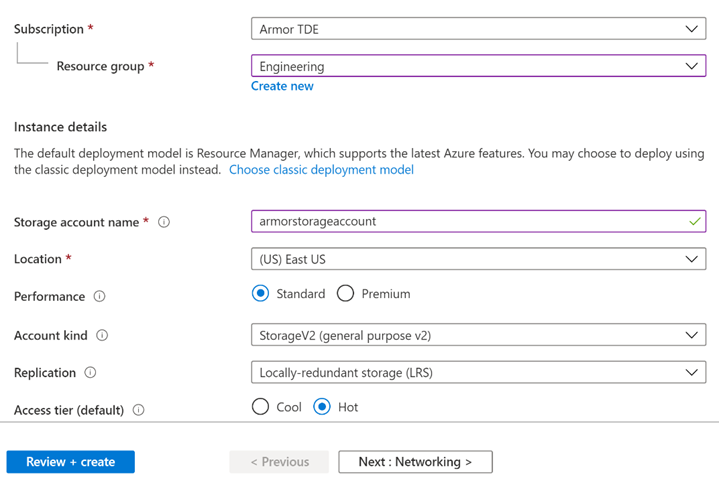
Basic :
Storage account name
Performance: Depending on the type of storage account you create, you can choose between standard and premium performance tiers.Learn more
Account kind: Azure Storage offers several types of storage accounts. Each type supports different features and has its own pricing model.Learn more
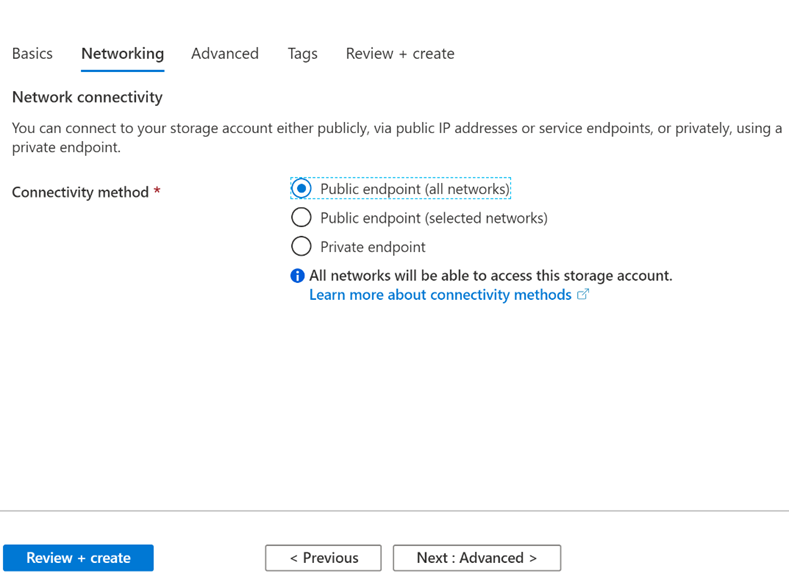
Networking:
Public endpoint (all networks)
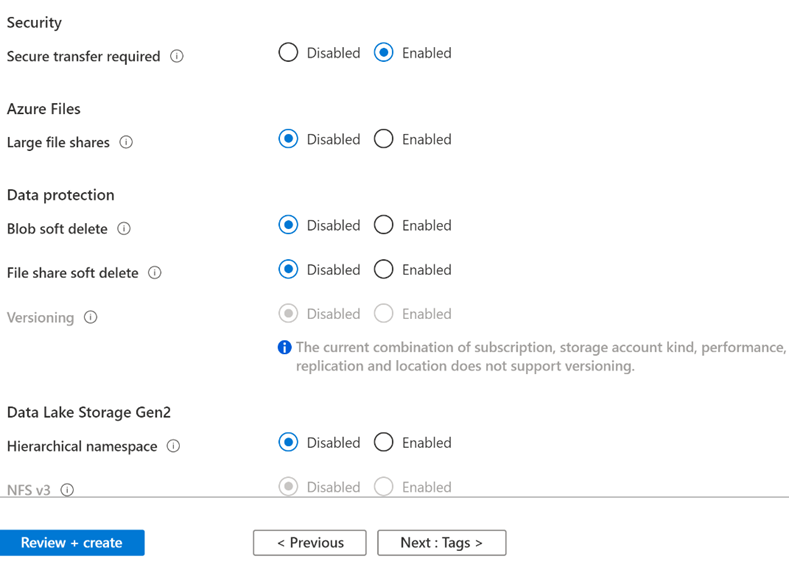
Advanced:
Secure transfer required: Enabled
Large file shares: Disabled
Blob soft delete: Disabled
Versioning: Disabled
Hierarchical namespace: Disabled
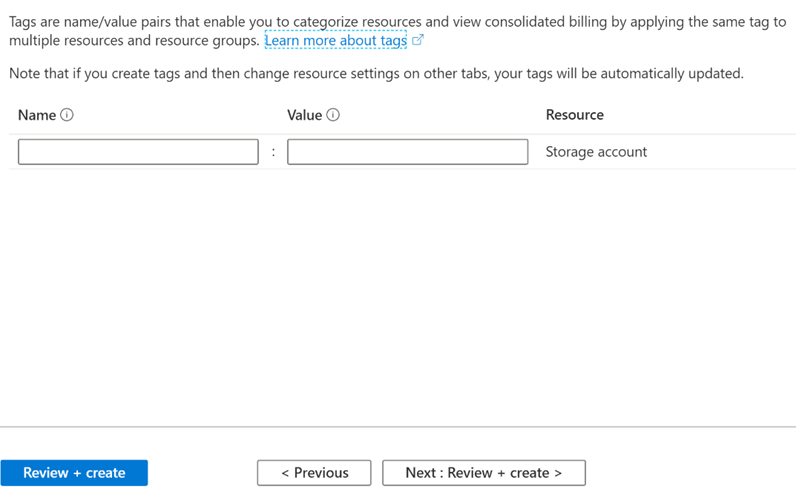
Tags: Tags are name/value pairs that enable you to categorize resources and view consolidated billing by applying the same tag to multiple resources and resource groups
Review and Create
Click Create
Retrieve Storage Account Connection String
Select All services, then type storage account when Storage account appear in the search results, select it. Click on the storage account → Settings → Access Keys
From the key 1 or key 2 section copy the Connection string

DefaultEndpointsProtocol=https;AccountName=[Storage Account Name];AccountKey=[Storage Account Key];EndpointSuffix=core.windows.net
Create Armor Azure Event Hubs Log Source
The following steps take place inside Nexus.
In Nexus, hover over Threat Management
 on the left-side nav.
 Click Log Search.
Click External Sources.
Click the plus sign
 .
. If you do not have any log sources already created, then click Add a New Log Source.
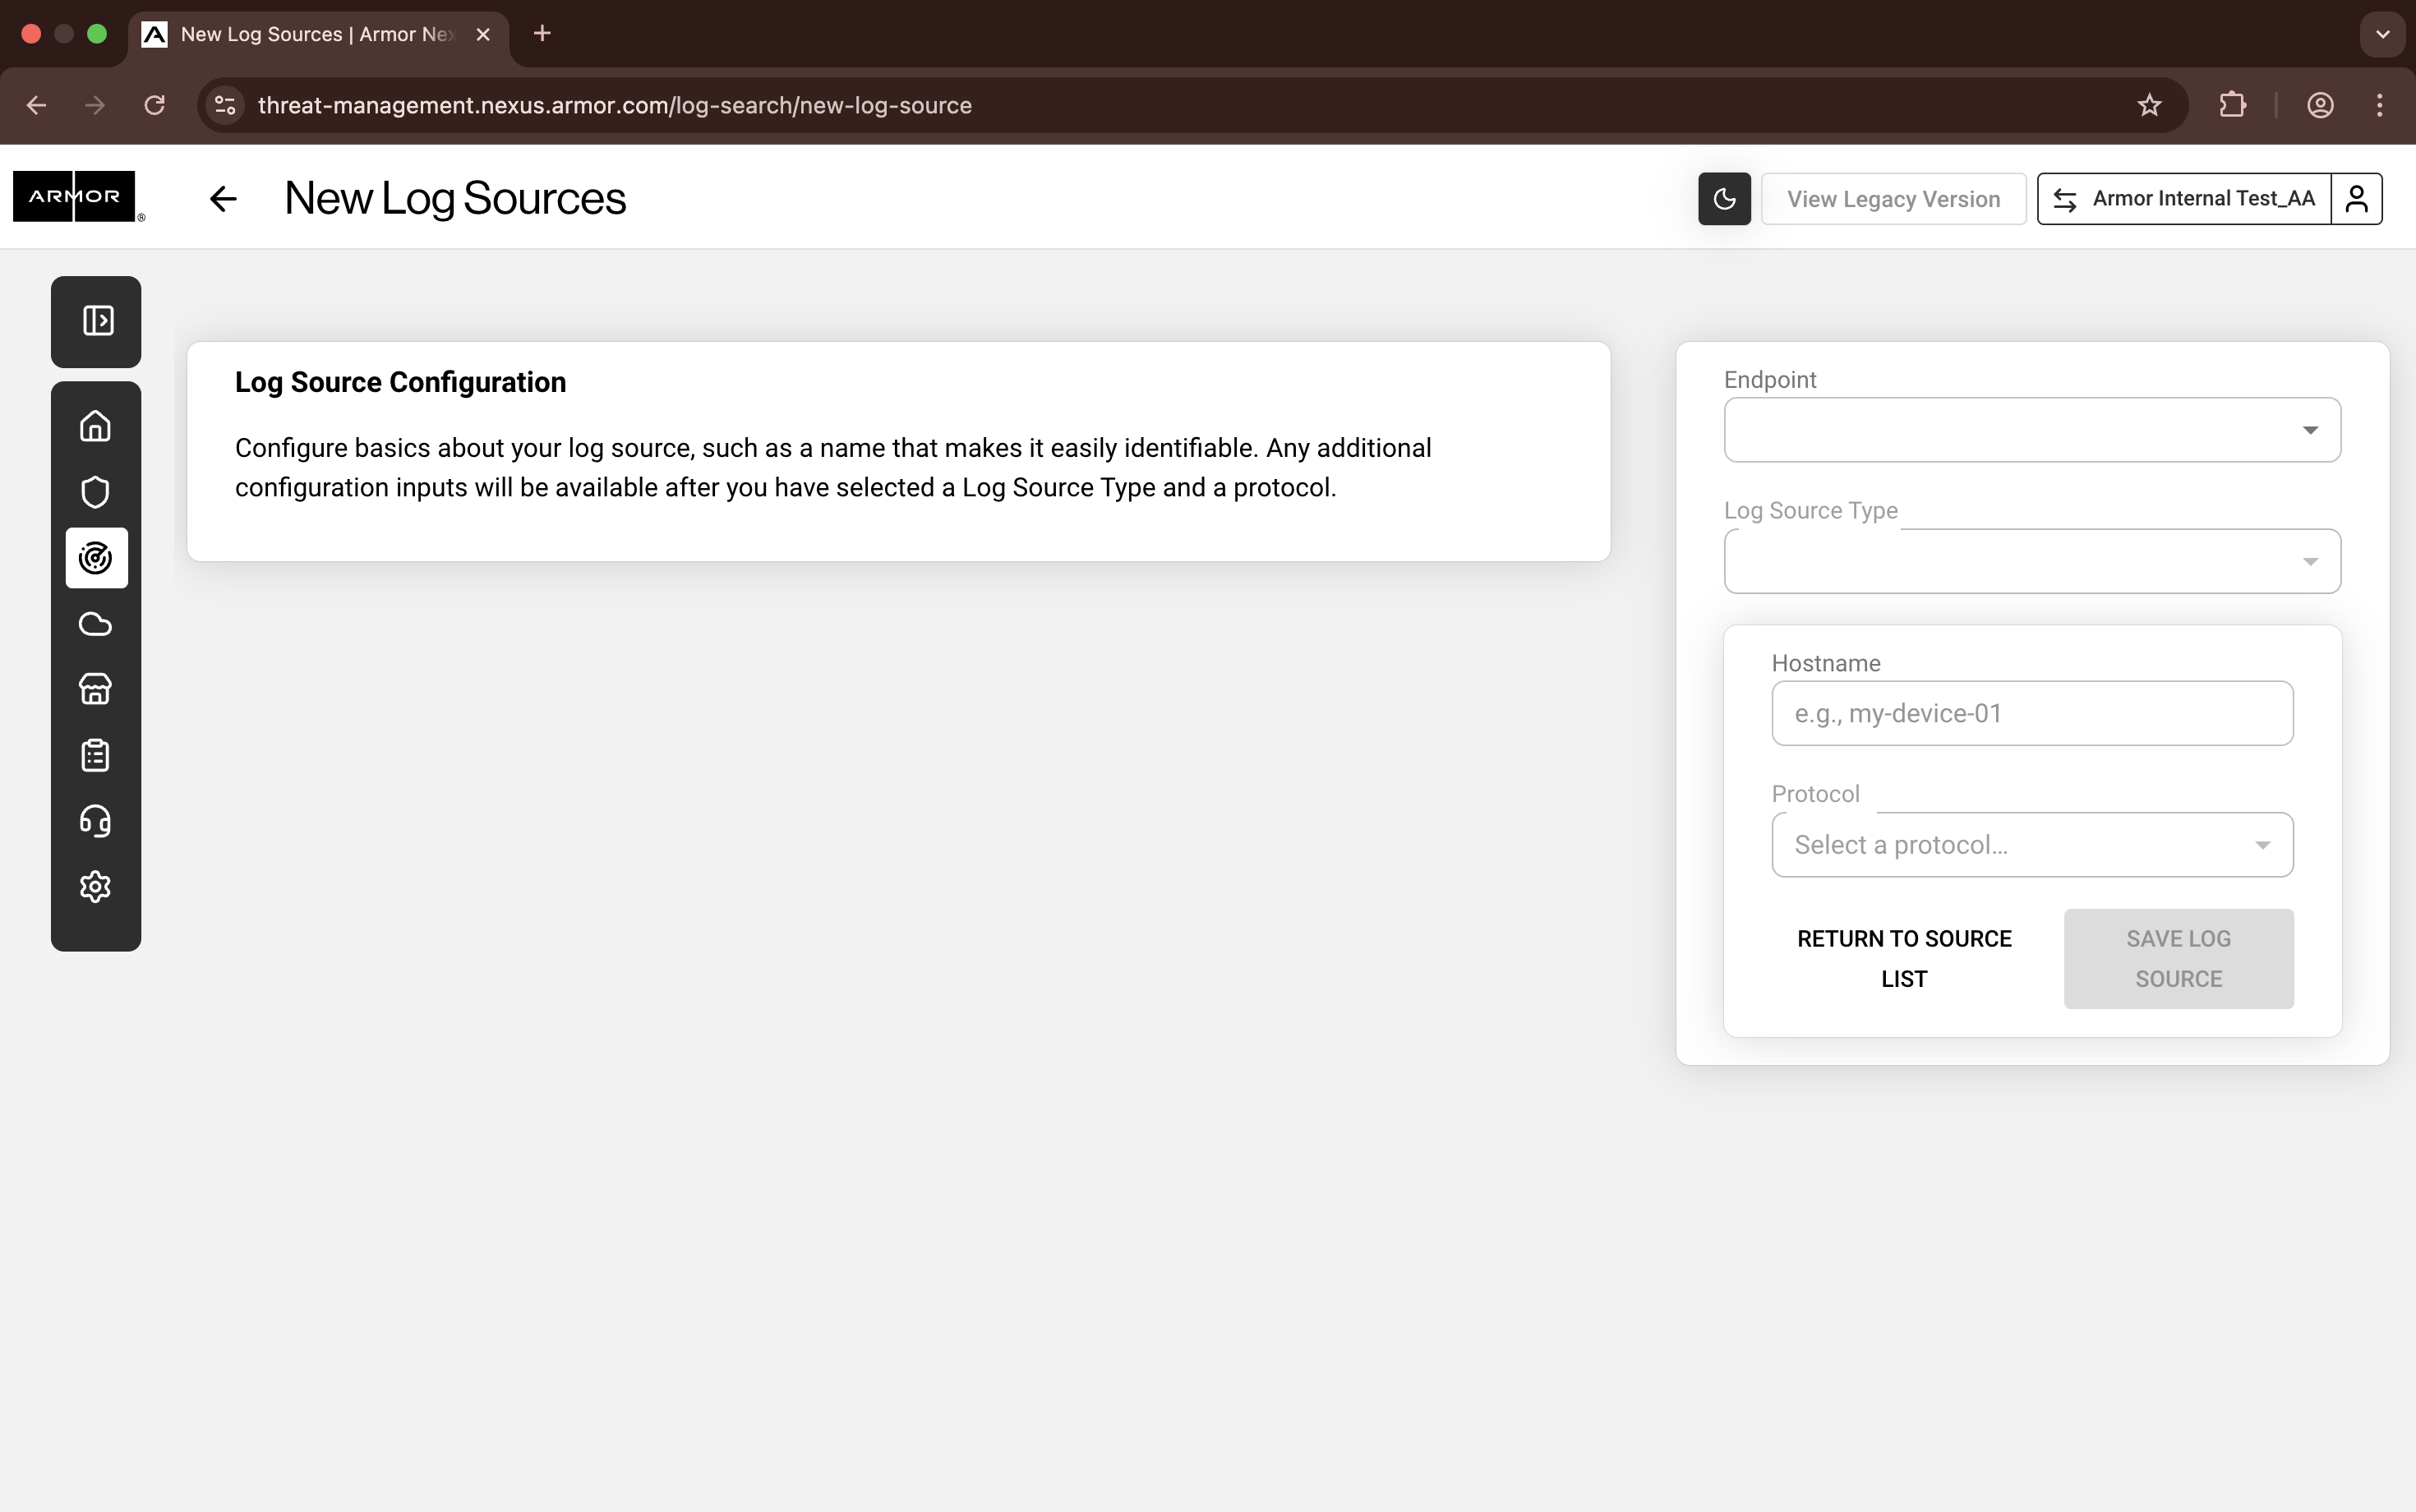
Nexus - Add New Log Sources
Complete the missing fields:
In Endpoint, select the available Armor Endpoint.
In Log Source Type, select Microsoft Azure.
In Host Name, enter a hostname
In Protocol, confirm that the Azure Platform is selected.
Consumer Group, by default, armor-logs will be populated.
In Event Hub Connection String, paste your event hub connection string
In Storage Acc. Connection String, paste your storage account connection string
Click Save Log Source.
A message will display at the bottom of the screen, indicating that the log source has been created.
Click Return to the Log Source List. You will be redirected to the External Sources screen.
In the External Sources screen, refresh the screen until the log source reaches an Online status.