
Before you begin, Armor recommends that you pre-installation information, including firewall rules. To learn more, see Armor Agent Pre-Installation
Step 1: Locate the Armor Agent (AA)
-
Login to Nexus.
-
In the left-side navigation, hover over Infrastructure

-
Click on Compute, then click Virtual Machines.
-
Click on Add New VM.
-
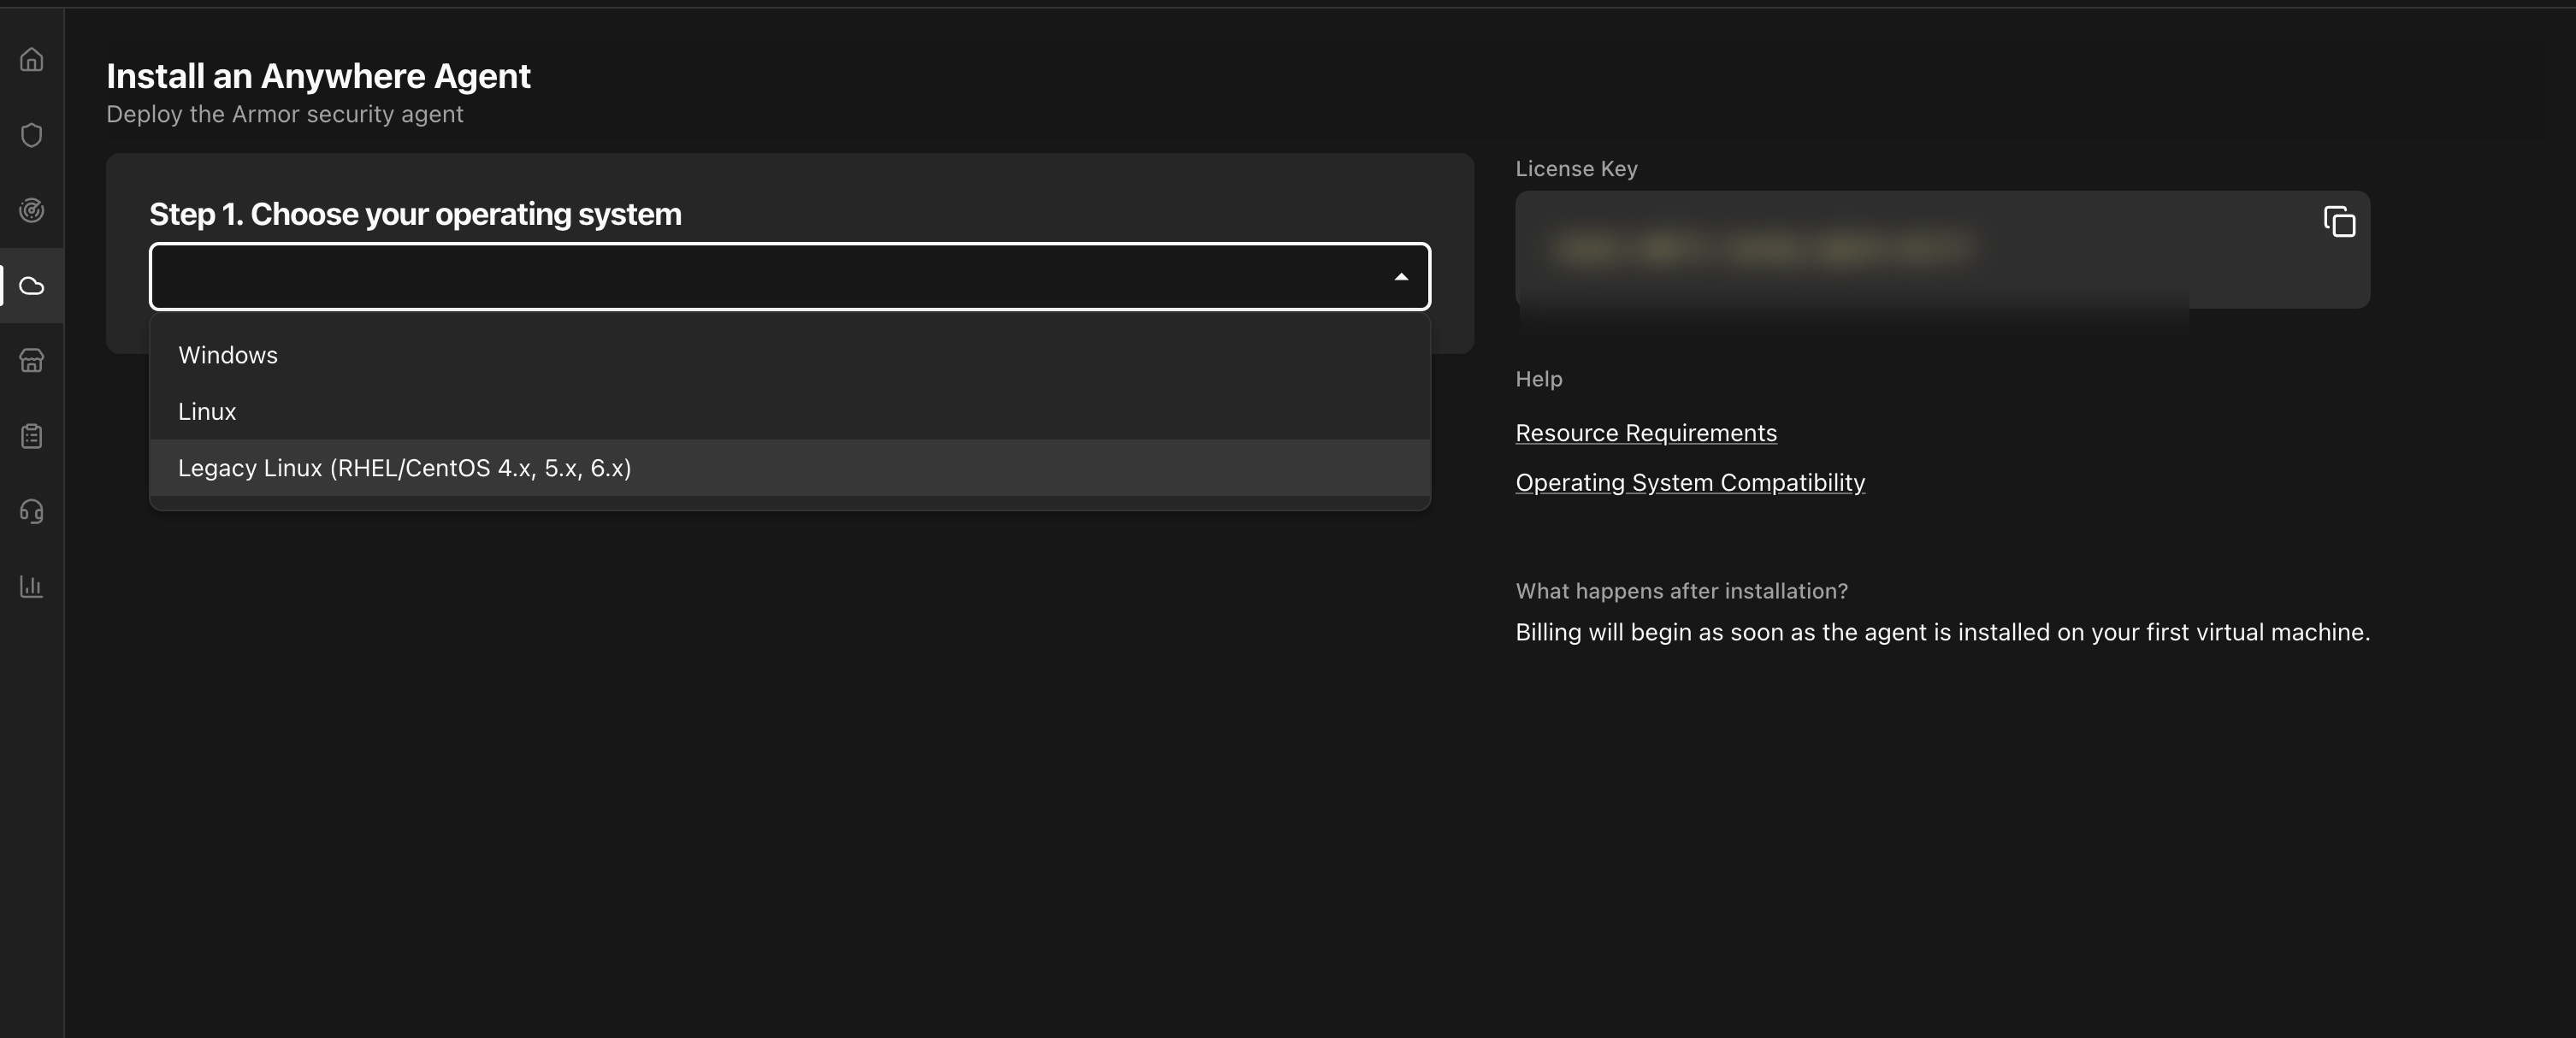
Once on the Install an Anywhere Agent page:
-
Copy your license key — you’ll need this in a later step.
-
Select your operating system (Legacy Linux)
-
Step 2. Install Legacy Linux Agent
Step 2.1: Download the installer bundle and onboarding script
Download the legacy agent bundle to your local machine. The ZIP contains all required files for RHEL 4.x, 5.x, and 6.x. The onboarding script is pre-configured with your license key and region.

Step 2.2: Unzip and transfer files to RHEL host
Unzip the bundle on your local machine, then transfer the files along with the onboarding script to your RHEL host.
unzip armor-legacy-bundle.zip
scp armor_agent_legacy* armor-linux-legacy* agent_legacy_onboarding.sh <user>@<rhel-host>:/tmp/
Step 2.3: Run the onboarding script on your RHEL host
SSH into your RHEL host and run the onboarding script to install the Armor legacy agent.
sudo bash /tmp/agent_legacy_onboarding.sh
The State of each Armor Service will show Pending for two-hours after installation. After two hours, the State should accurately reflect the health of the service.
To access troubleshooting documentation for each Armor Security Service, click on the name of the service in the sub-agent health table.
Step 3. Install Sub agents (Only for RHEL 5.x and 6.x)
Step 3.1: Install Trend sub-agent
SSH into your RHEL host and to install Trend run:
sudo /opt/armor/armor trend install-legacy
Step 3.2: Install Malware Protection
sudo /opt/armor/armor av on
Step 3.3: Turn On File Integrity Monitoring
sudo /opt/armor/armor fim on
Step 3.4: Turn On Intrusion Prevention Service
sudo /opt/armor/armor ips detect
Step 3.5: Install Vulnerability Scanning
sudo /opt/armor/armor vuln update-ca-certificate
sudo /opt/armor/armor vuln install-legacy
Step 4: Review the status of the Armor Agent (AA)
-
In Nexus, hover over Infrastructure
-
Then click Virtual Machines.
-
The Armor Agent column contains a colored status to indicate if the server's agent has registered a heartbeat to Armor.
-
A green

-
A red

-
-
-
Then click on the corresponding Virtual Machine to see the VM’s detail page.
-
On the VM detail page, you can view information about the VM as well as the services installed on the server and their corresponding health.
-
The State column contains a color-coded status indicator to reflect the health of the listed service.
-
A green
-
A red
-
An orange

-
The

-
-
Troubleshooting
The Armor Agent uses the BiosUUID to identify the hardware that the agent is running on. This number is tied to your motherboard (in the case of a physical computer) but is also present in a Virtual Machine.
In rare cases, the usual calls to retrieve this identifier fail to return this UUID, which will cause the Armor Agent to fail registration.
Turn on Armor Agent debug logging and try to register again. If the registration fails again, search the log for "Unable to get BiosUUID"
time="2020-07-24T03:06:48-05:00" level=debug msg="Unable to get BiosUUID"
time="2020-07-24T03:06:50-05:00" level=debug msg="Unable to get BiosUUID"
In Linux, try this command to try to retrieve the UUID:
sudo dmidecode |grep UUID
Any of the above commands should return a 35byte string formatted like:
4C4C7544-0057-4C30-8046-C2C04F4C9132
The BIOS UUID is required by the Armor Agent, to ensure uniqueness of the device. The BIOS UUID must be readable by the operating system. If the BIOS UUID is not available to the operating system please check with your provider.