Account Administrators
This topic only applies to Armor Enterprise Cloud users who are account administrators and new to Nexus
As a first-time user, you must:
Complete the onboarding / invitation process
Access Nexus
Invite users
Set up your infrastructure
Before you begin, Armor recommends that you review pre-installation/pre-deployment information, such as virtual machine offerings and supported browsers.
To learn more, see Pre-deployment considerations for Armor Enterprise Cloud.
In this step, you will add your phone number to your account. This phone number will be used for multi-factor authentication. To complete the account signup process and to log into Nexus, you must be near this phone number.
Note your Armor username.
The Username will be pre-populated with the email address of the Primary Contact for the account.
In Password and Confirm Password, create and enter an account password.
Your password must be at least 12 characters in length.
Your password must contain an upper-case character, a lower-case character, a number, and a special character.
Your password cannot contain personal information, such as your name, email address, birthday, etc. For example, if your name is John Smith, then you cannot use joh or smi in your password.
You can only change your password once every 24 hours.
Passwords expire after 60 days.
After 6 failed login attempts, you will be locked out of your account for an hour. To resolve this, you must contact your account administrator or contact Armor Support.
After 15 minutes of no activity, you will be logged out.
Complete the Challenge Phrase and Challenge Response.
If you call Armor for technical support, you will be asked the Challenge Phrase, and you must correctly answer the Challenge Response.
Do not use inappropriate language or suggestive material.
The answer must be at least five characters long.
In Phone Number, select your country code / flag, and then enter your phone number.
This phone number will be used for multi-factor authentication (MFA). Every time you log into Nexus, you will receive a phone call in order to complete the login process.
You can enter a phone number with spaces and special characters, such as (555) 555-555.
(Optional) If your phone number contains an extension, enter the number in Extension. You cannot include spaces or special characters in this field.
Click Validate to validate the phone number entered.
You will receive a phone call; answer the phone, and then follow the instructions.
(Optional) After you complete the signup process, you can configure your account to use the Microsoft Authenticator application for MFA. To learn how to use this application, see Configure multi-factor authentication for your account.
Click Continue.
If you already coordinated with Armor to pay with a check, then you will be redirected to Nexus
In Currency, select your currency.
(Optional) If your business is tax exempt, select I'm tax exempt.
In Tax Exempt ID, enter a valid tax exempt ID.
For Payment Method, mark the desired payment (credit card or bank account).
Option 1: Credit card
Cardholder Name, Address, City, State, and Postal Code will be pre-populated with the name and contact information for the Primary Contact on the account.
In Card Number, enter the credit card number.
In Expiration Date, select the appropriate month and year.
In CVV, enter the verification number for the credit card
In Country, select the corresponding country.
Click Submit.
You will be redirected to Nexus.
Option 2: ACH Bank Debit
In ABA / Routing Number, enter the corresponding banking number.
In Bank Account Number, enter the account number.
Select the appropriate Account Type.
In Bank Name, enter the name of the banking institution.
In Account Holder Name, enter the name of the account holder.
Click Submit.
You will be redirected to Nexus.
Workloads and tiers are visual tools used in Nexus to help you organize your virtual machines and corresponding resources. Workload refers to a container of virtual machines that live inside the Armor data center. Tiers are levels within workloads.
In Nexus, in the left-side navigation, hover over Infrastructure
 .
.Click Compute.
Then Virtual Machines.
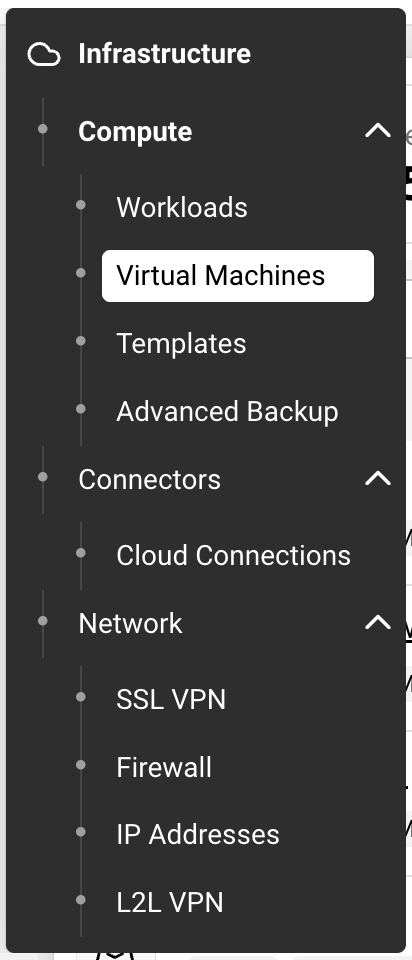
Nexus - Infrastructure
Click Add New VM
If you do not have any virtual machines listed, then click Deploy New, and then select Virtual Machine.
Filter the results at the top of the page to narrow down machines that fit your requirements by:
Region
Operating System
CPU
Memory
Select the desired virtual machine based on your CPU and memory needs (GB).
Armor labels virtual machines by CPU and memory features. For instance, 2x4 indicates that the virtual machine has 2 CPU and 4 GB of memory.
Click on your selection and complete the configuration:
In Name, enter a descriptive name for your virtual machine.
In Workload, select New Workload.
In New Workload Name, enter a descriptive name.
In New Tier Name, enter a descriptive name.
In Location, select and verify the data center to host your virtual machine.
Under Access Credentials, note your username to access the virtual machine.
In Password, enter a secure password to use to access the virtual machine.
Your password must contain:
An upper-case letter
A lower-case letter
A number
A special character: ! @ # $ % ^ * ( ) { } [ ]
You can also click Generate Password to allow Armor to create a password.
(Optional) For additional storage, under Storage Substrate and Disk Size, select your desired storage, and then click Add Disk.
On the right-side menu, review the pricing information, and then click Purchase.
When you order a virtual machine, you are also ordering Intelligence Security Model (ISM) for the virtual machine. Prices for ISM will vary based on the number of virtual machines you have ordered. IMS pricing is based on the following tiered structure:
Tier | Number of virtual machines |
|---|---|
1 | 1 - 10 |
2 | 11 - 25 |
3 | 26 - 100 |
4 | 101- 250 |
5 | 251 - 500 |
6 | 500 + |
To view the status of your newly created virtual machine, in the left-side navigation, hover over Infrastructure, click Compute, then Virtual Machines, and then search for your newly created virtual machine.
For Account Administrators only.
In Nexus, in the left-side navigation, hover over Infrastructure
.Click Network.
Then SSL VPN.
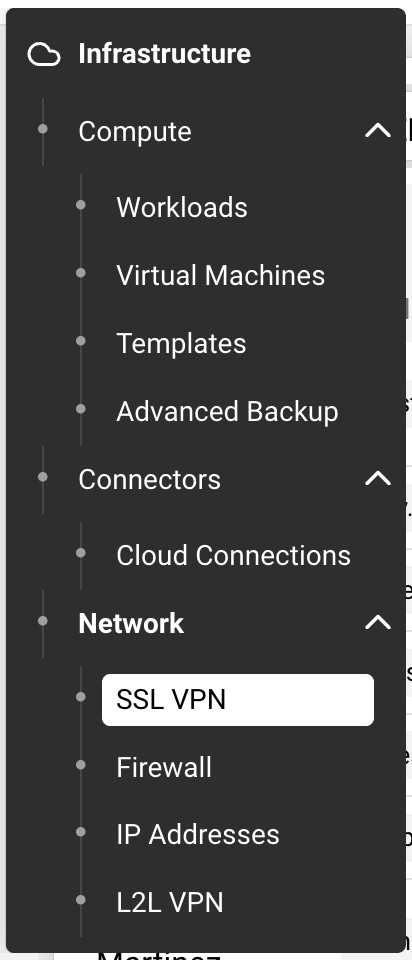
Nexus - Infrastructure
Click Members.
Click Add User + icon.
In the field, enter and select the name of the user, or their email address.
Mark the desired data center or data centers that the user can connect to.
Click Submit.
The newly added user will appear in the table; the table is organized in alphabetical order, based on the first name of the user.
On the top of the SSL VPN page click Client.
Click Download ____ Client for ____
Nexus will automatically detect your operating system; however, you can click Download for another platform to view other operating system options.
When you open the client, follow the on-screen installation instructions.
For Windows users, the client will download as a .zip file.
Extract the installation files to your local hard drive.
Launch the installer.exe file to begin the installation.
For Mac OS users, the client will download as a .tgzfile.
Extract the installation files to your local hard drive.
Access the mac_phat_client folder, and then run the naclient.pkg installer.
When you run the installer, you will see an error regarding the certificate. Click Continue. (In a future release, Armor will resolve the issue.)
To launch the SSL VPN client, in your Applications folder, search for naclient.
If you run Mac OS 10.11 or higher, then please review Install SSL VPN Client.
After installation, open the client.
In the drop-down menu, default will be listed.
.png?inst-v=fc9b3ced-3ec9-4a01-9f7d-f7ad9f209f76)
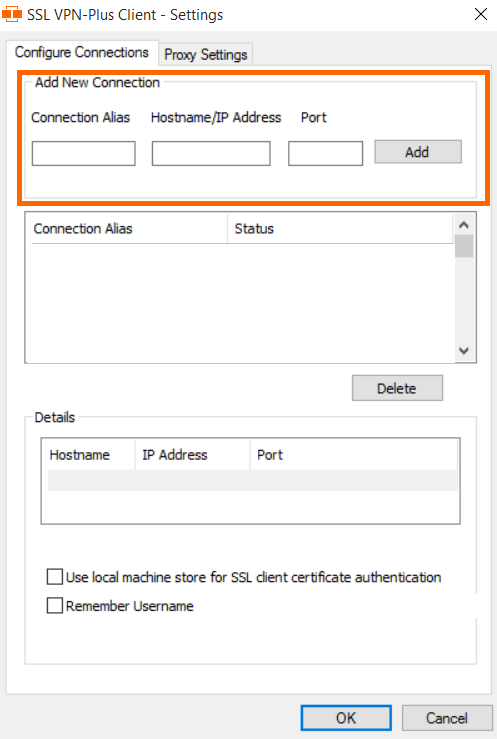
Click Settings.
To add a new connection, you must enter a Connection Alias, Hostname/IP Address, and Port, which you can find in Nexus.
Return to Nexus, specifically to the Client section of the SSL VPN screen.
Use the Client Configuration table to locate the data center and corresponding information to add to the client.
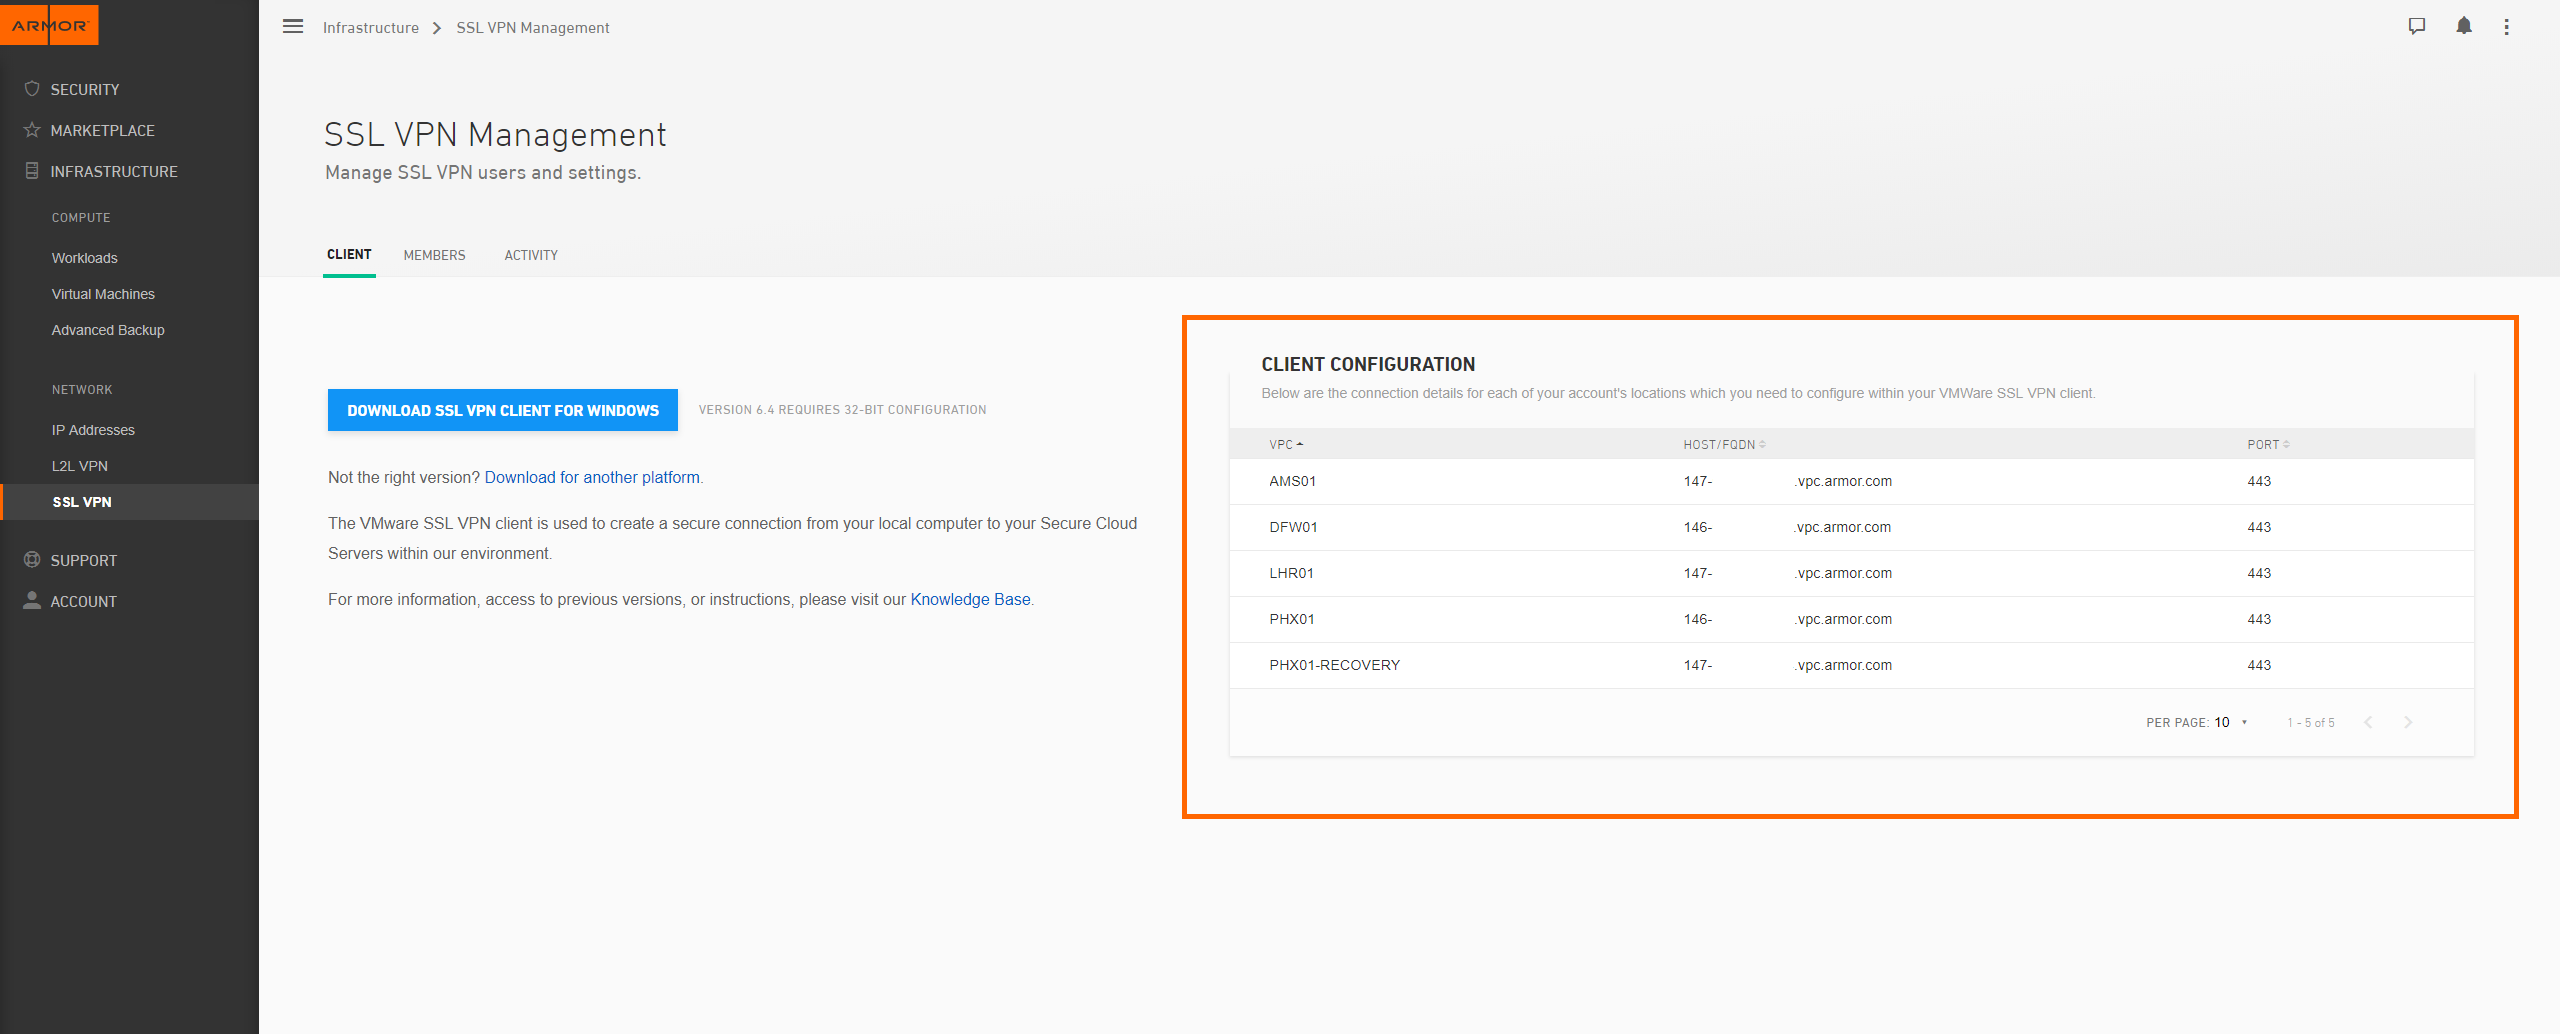
Under Client Configuration, copy the Location information, and then paste that information into Connection Alias.
Under Client Configuration, copy the HOST/FQDN information, and then paste that information into Hostname/IP Address.
Under Client Configuration, copy the Port information, and then paste that information into Port.
Click Add.
Click OK.
In the drop-down menu, select the newly created connection.
Log into the client.
Your SSL VPN login credentials are the same credentials you use to access the Nexus


Step 1: Create an IP Group
In the Firewall screen, each entry in the table represents a single firewall rule; however, each firewall rule can contain several IP addresses or just a single IP address.
You can combine related IP addresses into a single IP Group. For example, if you want to block traffic from three separate IP address, you do not have to create three separate firewall rules. Instead, you can combine the three separate IP addresses into a single, configurable IP Group. Then, when you create a firewall rule, you can pick the newly created IP Group as your Source or Destination IP addresses.
In Nexus, hover over Infrastructure and click Network
.Click Firewall.
If you have virtual machines in various data centers, then in the top drop-down menu, select the desired data center.
Click IP Groups.
Click Actions, and then click New Group.
In Name of IP Group enter a descriptive name.
Armor recommends that you add Source or Destination into the name of the IP Group to help you identify the IP Group as the Source or Destination IP group.
In IP Address, enter a member, and then click the plus icon.
You can enter:
A single IP address
A range of IP addresses
CIDR
You must add at least one member.
You can add multiple members to a service group.
Click Create Group.
The newly created IP group will appear at the bottom of the table.
Step 2: Create a Service Group
In the Firewall screen, each entry in the table represents a single firewall rule; however, each firewall rule can contain several protocols (and ports).
You can combine related protocols (and ports) into a Service Group. For example, if you want to create a firewall rule to block three types of traffic, you do not have to create three separate firewall rules. Instead, you can combine the three types of traffic (protocols and ports) into a single, configurable Service Group. Then, when you create a firewall rule, you can pick the newly created Service Group.
In Nexus, hover over Infrastructure and click Network
.Click Firewall.
If you have virtual machines in various data centers, then in the top drop-down menu, select the desired data center.
Click Service Groups.
Click Actions, and then click New Group.
In Service Group Name, enter a descriptive name.
In Services, enter the service or sub-protocol, and then click the plus ( + ) icon.
You must add at least one member.
You can add multiple members to a service group.
Service or sub-protocol | Notes | Example |
|---|---|---|
Services (TCP, UDP, etc.) | You must enter a port number. These services are not case-sensitive. |
|
Additional services (AARP, AH, etc.) | These additional services are not case-sensitive. Do not enter a port number with these additional services. |
|
Sub-protocols (echo-reply, redirect, etc.) | You must enter icmp, followed by the specific sub-protocol. You must enter the sub-protocol in lower-case letters. Do not enter a port number. |
|
Click Apply.
The newly created service group will appear at the bottom of the table.
For a complete list of supported services and sub-protocol, see Review supported services and sub-protocols.
Step 3: Create a Firewall Rule
In Nexus, hover over Infrastructure and click Network
.Click Firewall.
If you have virtual machines in various data centers, then in the top menu, click the corresponding data center.
Click Rules.
Click Actions, and then click New Rule.
If you do not see Actions, then click Create a Firewall Rule.
In Name, enter a descriptive name.
In Action, select Allow to allow specified traffic to access your virtual machine or Block to block specified traffic.
Under Service, enter and select the name of the desired Service Group.
To learn how to create a Service Group, see Create a service group.
Under Source, enter and select the name of the desired IP Group.
To learn how to create an IP Group, see Create an IP group.
Under Destinations, in the field, enter and select the name of the desired IP Group.
Click Save.
After you create a rule, Armor recommends that you place the rule in the correct order.
If you are not familiar with ordering rules, contact Armor Support to help you properly order your firewall rules. It is extremely important to order rules in order to receive desired traffic.
To learn how to send a support ticket, see Armor Support.
Reorder a Rule:
Under Rule, in the numbered fields, enter a number to move the rule to a different position.
If you have more than 25 rules, the additional rules will be placed in a secondary section within the Firewall screen. To reorder and move these additional rules into a higher position, enter a number under the Order column, and then press Enter on your keyboard.
In the top menu that appears, click Save.
Disable a Rule:
Locate the desired rule.
Click the vertical ellipses.
Click Disable Rule.
Click Disable Rule again.
In the top menu that appears, click Save.
In Nexus, roles are similar to job titles that you can create and assign to your users. You can populate these roles with certain permissions. For example, you can create an Audit role, and then you can add specific permissions that will give the assigned user permission to access audit-related features.
By default, a new administrator account contains an Admin role with all the available permissions selected.
When you create a new user account, you must assign that user a role. You can assign a default role or create a new role.
There are three default permissions:
Admin contains every permission.
Technical contains mostly write-only permissions.
Billing contains mostly read-only permissions.
If you want to use a default role, then you can skip to Step 8: Create An User and Assign A Role.
In Nexus, in the left-side navigation, hover over Settings
 .
. Click Users.
Click New Users.
Complete the First Name, Last Name, and Email Address fields.
The email address you enter will be the username.
Select a role for this user.
You must assign a role to the user.
You can assign multiple roles to the user.
You can assign a default role (Admin, Technical, Billing).
Admin contains every permission.
Technical contains mostly write-only permissions.
Billing contains mostly read-only permissions
To learn about Roles and Permissions, see Roles and Permissions.
Click Invite User. An email will be sent to the user. After 96 hours, the sign-up link in the email will expire.
If the link expires, you can resend the user invitation. In the Users screen, hover over the desired user, click the vertical ellipses, and then select Resend Invitation.
If you want to remove this newly created / invited user from your account, see Remove a newly created / invited user from your account.
Repeat Step 8: Create An User and Assign A Role for every user you want to invite.
Before an invited user can download and install their SSL VPN, the account administrator must add the following permissions to their account:
Write SSL VPN Devices and Users
Read SSL VPN Devices and Users
Read Virtual Data Centers
Additionally, the account administrator must enable the account to access the SSL VPN client:
In Nexus, in the left-side navigation, click Infrastructure
 .
. Then Network
Click SSL VPN.
Click Members.
In the top bar, select the data center that corresponds to your virtual machine.
If you have virtual machines in multiple data centers, then you must configure the user for each data center. (Also, you must download the client for every data center you use.)
Under Active Members, type and select the desired username.
The user can now access to Nexus to download their SSL VPN client.
Armor recommends that you configure your account to receive notifications for Account, Billing, and Technical events.
These notification preferences do not relate to support tickets.
To update your notification preferences for support tickets, see Notification Preferences.
Account | You will receive a notification when:
|
Billing | You will receive a notification when:
You can configure a user to become the primary billing contact for an account. This user will receive billing notifications. Additionally, this user will be listed in the Bill to field in an invoice.
|
Technical | You will receive a notification when:
|
You can only change the notification preferences for your own account. You cannot change the notification preferences for other user accounts.
In Nexus, in the left-side navigation, hover over Settings
. Click Users.
Find your user account
Click on your account Name
Click Notification Preferences.
Use the slider to make your desired changes.
Select Alert to receive notifications in the top bar in Nexus
Select Email to receive notifications through email.
You can select both notification options.
Click Update Notification Preference to save your changes.
An organization allows you to specify when a group of users should be added to a specific support ticket, based on the subject matter of the ticket. For instance, for a billing-related ticket, you can indicate that members of the Billing organization should be notified. When a support ticket is shared with an organization, all users within the organization will receive an initial email notification.
In Nexus, in the left-side navigation, click Support
 .
. Click Manage Organizations or Organizations.
Select the desired organization.
To add a user, enter and select the name of the user.
The change will be automatically saved.
For more information on setting up access to Support Tickets, see Organizations.